¿Qué es VisteLaCalle?
RevisteLaCalle
VisteLaCiudad
Agenda VisteLaCalle
VLC Maker
Buscar
Search anytime by typing
Inicio
Looks
Blog VLC
Lo ultimo
Historia
Universo de la moda
Recomendaciones
Personaje de la industria
RevisteLaCalle
RevisteLaCalle 17
RevisteLaCalle 16
Revistelacalle 15
RevisteLaCalle 14
REVISTELACALLE 13
RevisteLaCalle 12
RevisteLaCalle 11
+VLC
Producciones de Moda
VLC Man
VLC Teen
VLC Love
Beauty
Diseñadores Latinos
Videos
Contacto
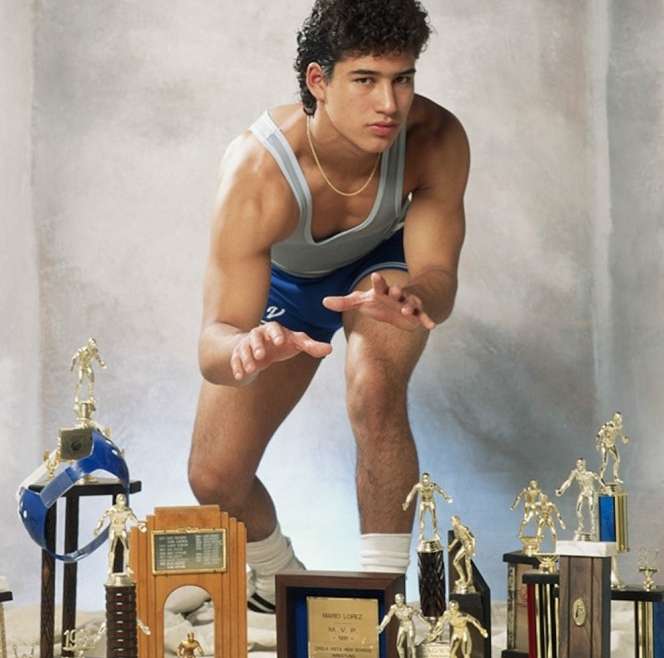
Attachment: saved-by-the-bell-behind-the-scenes13-664×1000.jpg
Inicio
Flashback: El estilo de “Salvado por la...
Attachment...
saved-by-the-bell-behind-the-scenes13-664×1000.jpg
Pin It
Lisa-Turtle-653x1000.jpg
Comentarios
Navegación de entradas
Published in
Published in the post:
Flashback: El estilo de “Salvado por la Campana” (1989-1993)
STREETSTYLE © 2015. All rights reserved.
Terms of use and Privacy Policy
»